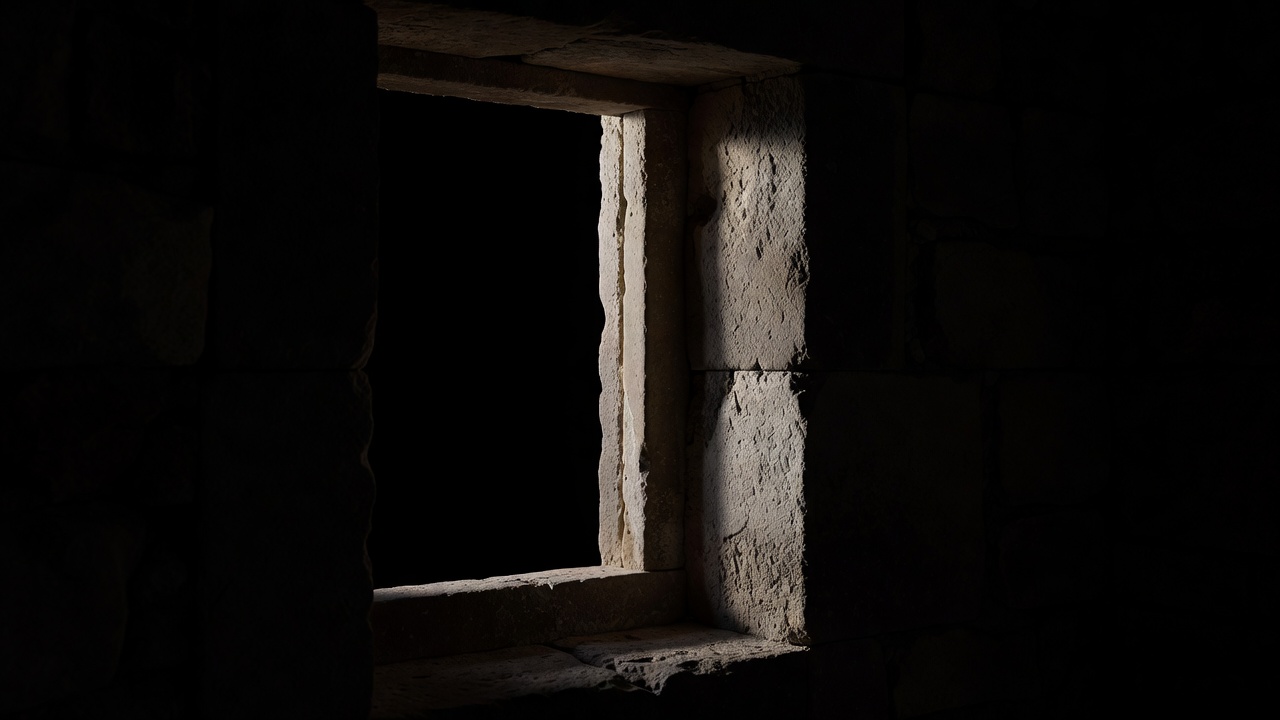
01 — Choose the relationship first
Before raising the camera, finish this sentence: “The detail matters because…” Perhaps a dark joint separates two pale surfaces. Perhaps one window interrupts a grid. Perhaps a stair edge catches light while the riser beneath it stays dark. This short description gives the photograph a job. Without it, you may collect textures that look pleasing but explain very little.
Begin with the camera you already own. On a phone, clean the lens and try the main camera before an ultrawide view or heavy digital zoom. On an interchangeable-lens camera, start with a moderate focal length and move to a safe position that gives the desired relationships. Focal length affects framing, but perspective depends on where the camera is placed. Changing lenses from the same spot does not recreate a different viewpoint.
Check the frame edges as carefully as the centre. A small strip of bright sky can distract from a quiet stone junction. A cropped handrail can appear to float without explanation. Move a little, change the camera height or simplify the frame. Do not remove essential context merely to make a detail seem more mysterious.
02 — Let light describe the surface
Raking light travels across a surface at a shallow angle and makes small projections cast visible shadows. It can reveal tool marks, mortar texture and the relief of a perforated screen. Frontal light tends to reduce those shadows and may be more useful when your subject is colour, alignment or the graphic arrangement of openings. Neither condition is universally better.
Overcast light can be excellent for a careful material study because it reduces extreme contrast. Bright sun may create a striking composition but leave deep recesses difficult to read. Review the image rather than assuming that the camera records the scene exactly as your eyes experience it. If available, use a histogram and highlight warning to judge whether important bright material has lost detail.
Reflective metal and glass need extra patience. A slight change of position may replace a distracting reflection with a quieter one. A polarising filter can alter some reflections, but it is not a universal solution, particularly across wide views or on metallic surfaces. Observe the actual result before relying on the accessory.
03 — Keep the important plane sharp
Shallow depth of field can isolate a joint, but it can also hide the relationship that makes the joint interesting. For a flat façade photographed straight on, focus on the surface you need to describe. For an angled detail, decide whether the nearby edge, the receding pattern or both must remain legible. There is no single aperture that solves every scene.
With a camera that offers manual control, a moderate aperture is often a useful starting point, provided the shutter speed remains suitable for handheld work. Very small apertures can introduce diffraction, while a slow shutter can soften a frame through camera movement. On a phone, tap the intended subject and check whether a portrait-style blur has altered an architectural edge. Disable simulated blur when it misrepresents the geometry.
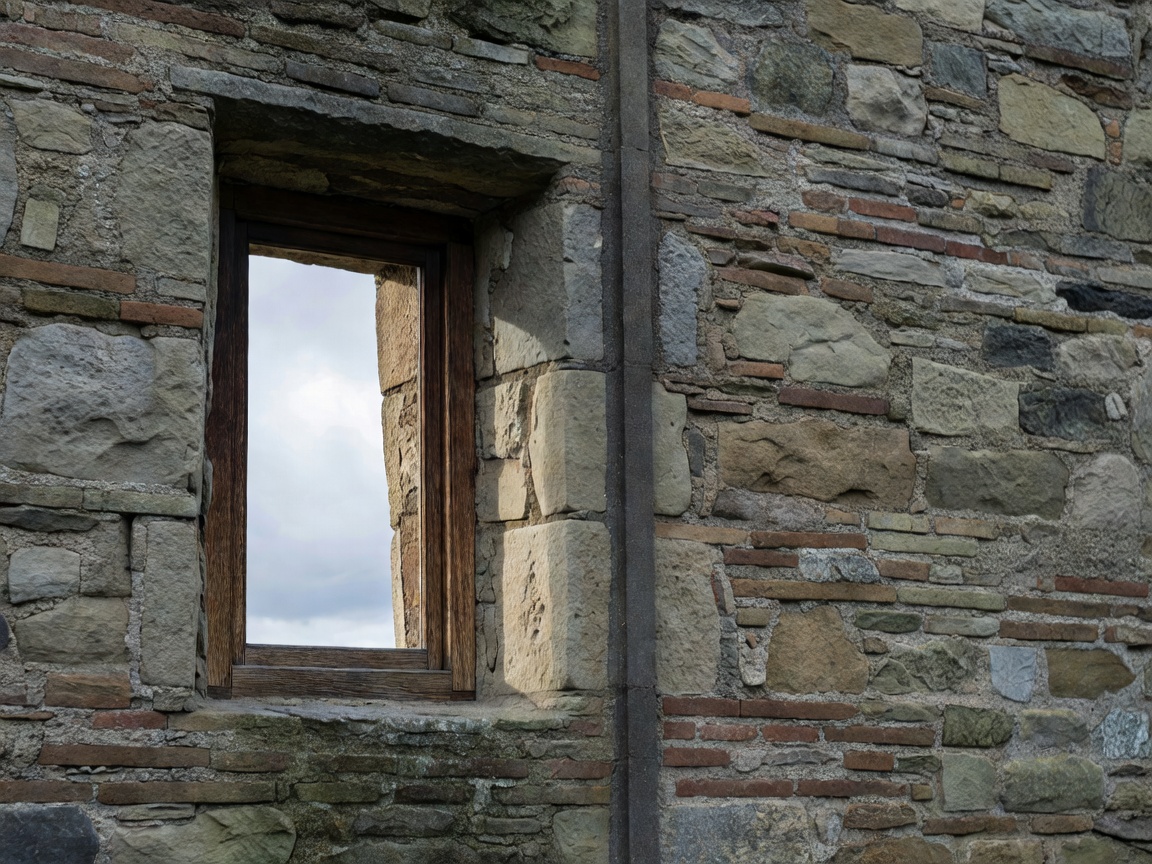
The surrounding wall explains where the opening belongs.
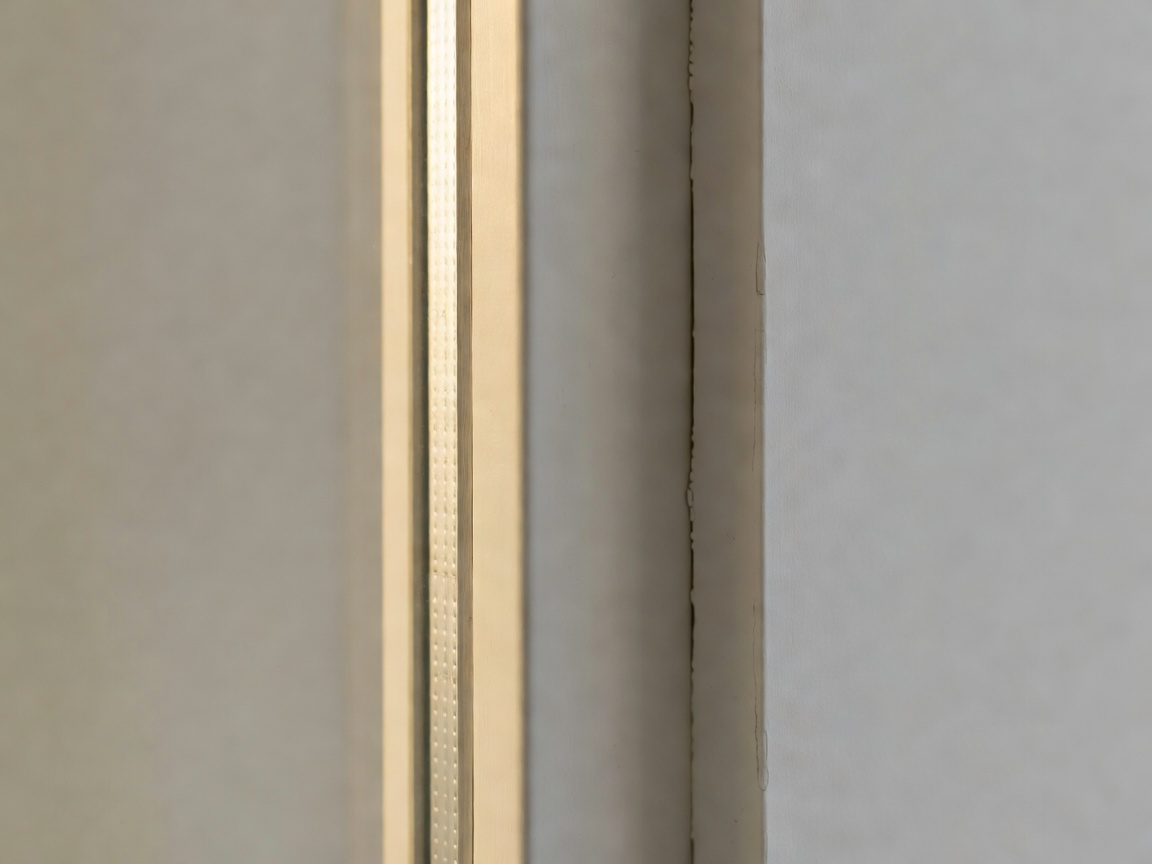
The tighter frame makes the material transition the subject.
04 — Edit for clarity, caption with care
Start by selecting the frame with the clearest relationship, not the strongest effect. Adjust exposure and white balance to make the materials understandable. Moderate perspective correction can help a frontal study, but large corrections stretch parts of an image and may require substantial cropping. Keep an unedited original so that you can distinguish what the camera recorded from what you later changed.
Use local contrast and sharpening sparingly. Strong processing can turn a subtle mortar joint into a dark outline that was never visually dominant on site. If an image is intended as a documentary record, do not quietly remove fixtures, repairs or people whose presence changes its meaning. Label substantial alterations when you share them.
Finally, write a useful caption: location if known, visible material, observed feature and any uncertainty. “Stone-like cladding” is more honest than a confident material identification you have not verified. Note private-property rules, respect people in the frame and check local publication requirements. Good architectural photography is not just a matter of straight lines; it is a careful account of a place.